
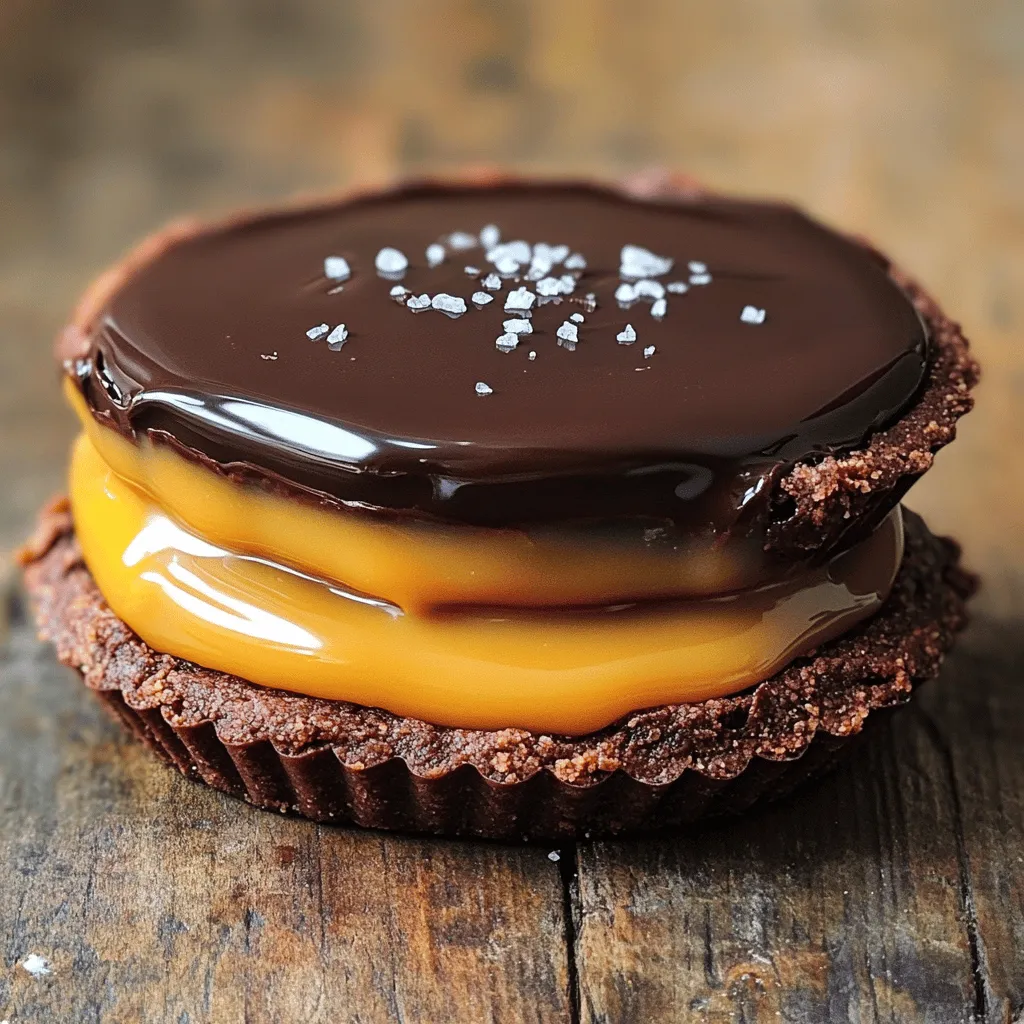
Are you ready to impress your friends and family with a rich, decadent dessert? This Salted Caramel Chocolate Tart will be your new go-to treat. From the crispy crust to the creamy layers of salted caramel and chocolate ganache, each bite offers pure bliss. I’ll walk you through every step, with tips to ensure your tart is a showstopper. Let’s dive into this delightful dessert recipe!
Ingredients
Crust Ingredients
– 1 ½ cups all-purpose flour
– ½ cup unsweetened cocoa powder
– ½ cup powdered sugar
– ½ cup unsalted butter, softened
– 1 large egg yolk
– 2-3 tablespoons ice water
Salted Caramel Ingredients
– 1 cup granulated sugar
– 6 tablespoons unsalted butter, cut into pieces
– ½ cup heavy cream
– 1 teaspoon sea salt
Chocolate Ganache Ingredients
– 8 ounces semi-sweet chocolate, chopped
– 1 cup heavy cream
– 2 tablespoons unsalted butter
You need these ingredients for the salted caramel chocolate tart. The crust starts with flour, cocoa powder, and sugar. Then, add butter for a rich taste. The egg yolk helps bind the crust. Ice water makes it easy to form the dough.
For the salted caramel, use granulated sugar. It turns into the sweet, golden treat. Butter adds creaminess, and heavy cream gives it a smooth texture. A touch of sea salt brings out the flavor.
The chocolate ganache uses semi-sweet chocolate, which melts beautifully. Heavy cream adds richness. A bit of butter gives it a nice finish.Enjoy making this tasty dessert!
Step-by-Step Instructions
Making the Crust
To start, gather your ingredients. In a large bowl, whisk together:
– 1 ½ cups all-purpose flour
– ½ cup unsweetened cocoa powder
– ½ cup powdered sugar
Now, mix in:
– ½ cup unsalted butter, softened
You want to make it crumbly. Now add:
– 1 large egg yolk
– 2-3 tablespoons ice water
Stir until you form a dough. Wrap the dough in plastic wrap. Chill it in the fridge for at least 30 minutes.
Baking the Crust
While the dough chills, preheat your oven to 350°F (175°C). Roll out the chilled dough. Place it in a 9-inch tart pan. Trim the edges for a clean look.
Next, blind bake the crust. Use pie weights or dry beans to cover it. Bake for 15 minutes, then remove the weights. Bake for another 10 minutes until firm. Let it cool completely.
Preparing Salted Caramel and Ganache
For the salted caramel, place 1 cup granulated sugar in a medium saucepan. Melt the sugar over medium heat. Swirl the pan gently to help it melt evenly.
When it turns golden brown, quickly add:
– 6 tablespoons unsalted butter, cut into pieces
Stir until it melts. Slowly add:
– ½ cup heavy cream
Be careful of the steam! Stir until smooth. Mix in:
– 1 teaspoon sea salt
Now, pour the caramel into the cooled tart crust, spreading it evenly. Refrigerate for about 30 minutes to set.
For the chocolate ganache, take 8 ounces semi-sweet chocolate, chopped, and place it in a heatproof bowl. In a small saucepan, bring:
– 1 cup heavy cream
to a boil. Pour it over the chocolate and let it sit for a few minutes. Then stir until smooth. Add:
– 2 tablespoons unsalted butter
and mix until fully melted. Pour the ganache over the set caramel layer. Spread it evenly. Refrigerate until set, about 1 hour.
Tips & Tricks
Perfecting the Crust
To avoid a soggy bottom, follow these tips:
– Blind bake the crust: This step helps set the crust and keeps it crisp.
– Preheat the oven: Ensure your oven is hot before baking.
– Use pie weights: They help keep the crust from puffing up during baking.
For rolling out dough, I recommend these tools:
– Rolling pin: A heavy rolling pin works best for even dough.
– Pastry mat: This keeps your dough from sticking and makes cleanup easy.
– Bench scraper: It helps lift the dough and keeps your work area tidy.
Achieving the Right Caramel Consistency
Perfect caramel has a rich, golden color. Here’s how to tell if it’s ready:
– Color check: When it turns a deep amber, it’s done.
– Smell test: It should smell sweet, not burnt.
If your caramel is too grainy, here are some solutions:
– Reheat gently: If it crystallizes, heat it slowly while stirring.
– Add water: A tablespoon of water can help smooth it out.
Ganache Texture Tips
To get a smooth ganache, follow these steps:
– Chop chocolate finely: Smaller pieces melt more easily.
– Heat cream properly: Bring it to a boil before pouring over the chocolate.
– Let it sit: Allow the chocolate to absorb heat for a few minutes before stirring.
For storing leftovers, keep these tips in mind:
– Use an airtight container: This prevents drying out.
– Refrigerate: Ganache can last up to a week in the fridge.

Variations
Flavor Variations
You can add espresso or coffee to your tart. This will give it a richer flavor. Just mix in one to two teaspoons of instant coffee granules when making the ganache. It blends well with chocolate. You can also try flavored salts, like smoked salt or even citrus salt. These can add a new taste to the caramel layer. A sprinkle of flavored salt on top can really elevate your dessert.
Dietary Substitutions
If you need a gluten-free crust, use almond flour or a gluten-free flour blend. This works well in the tart. For a vegan option, substitute the butter with coconut oil. You can also use coconut cream in place of heavy cream in the caramel and ganache. Both changes keep the dish tasty while fitting different diets.
Serving Suggestions
Serve your tart with a scoop of vanilla ice cream. The cold ice cream balances the rich chocolate and caramel. You can also add a dollop of whipped cream on top. For a creative look, slice the tart into wedges and drizzle extra caramel sauce over each piece. Garnish with fresh berries or mint leaves for color. These simple touches make your dessert stand out.
Storage Info
Best Practices for Storing
To keep your salted caramel chocolate tart fresh, store it properly. First, let it cool completely after making it. Once cool, you can cover it. Use a tight lid or plastic wrap. This keeps it from drying out. You should store it in the fridge. The cool air will help keep the flavors nice.
For the best taste, use an airtight container. A glass or plastic container works well. Avoid using metal containers because they can change the flavor. Make sure to eat it within five days for the best quality.
Freezing Instructions
If you want to freeze the tart, it’s easy. First, make sure it is completely cool. Then, wrap it tightly in plastic wrap. You can also use aluminum foil for extra protection. This helps keep the texture and flavor intact.
To thaw the tart, move it from the freezer to the fridge. Let it sit there for a few hours or overnight. This way, it thaws slowly and tastes great. Avoid thawing it at room temperature, as it can make the crust soggy.
FAQs
How long does the tart last in the fridge?
The tart lasts about 3 to 5 days in the fridge. Keep it covered to protect its flavor. After a few days, the crust may get a bit soft. Still, it will taste great. Eating it fresh will give you the best texture.
Can I make the salted caramel chocolate tart ahead of time?
Yes, you can make the tart ahead of time. You can prepare the crust and salted caramel one day in advance. Just store them separately in the fridge. Add the chocolate ganache on the day you plan to serve. This keeps the tart fresh and tasty.
What toppings can I add to enhance flavor?
You can get creative with toppings! Here are some ideas:
– Chopped nuts for crunch
– Fresh berries for a fruity twist
– Shaved chocolate for extra richness
– A drizzle of chocolate sauce for sweetness
– Flaky sea salt for an extra salty kick
These toppings can make your tart look stunning and add layers of flavor.
How to fix a runny ganache?
If your ganache is runny, don’t worry! You can fix it. Here’s how:
– Chill it: Put the ganache in the fridge for about 30 minutes.
– Reheat: Gently warm the ganache and add more chopped chocolate. Stir until smooth.
– Add cornstarch: Mix in a small amount of cornstarch to thicken it.
These tips will help you achieve a perfect ganache for your tart.
This post shared how to make a salted caramel chocolate tart. We covered key ingredients, from the crust to the ganache. I provided step-by-step instructions to guide you through the process. Tips help you perfect each element for the best outcome.
In the end, this tart is a treat that’s fun to make. Don’t hesitate to experiment with flavors or toppings. Enjoy your baking journey, and create something special!
