
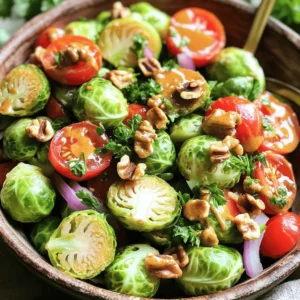
. In this post, you learned how to cook Brussels sprouts in an air fryer. We covered essential ingredients, step-by-step instructions, and tips for perfect results. Remember to trim and season sprouts well. Avoid overcrowding the basket for crispiness. You can try different flavors or store leftovers easily. With these tips, you will enjoy tasty sprouts every time. Happy cooking!](https://stewspot.com/wp-content/uploads/2025/08/5345a93e-1a80-4946-80a4-38f99031d8c4-768x768.webp)


LATEST RECIPES


LET'S GET COOKING!
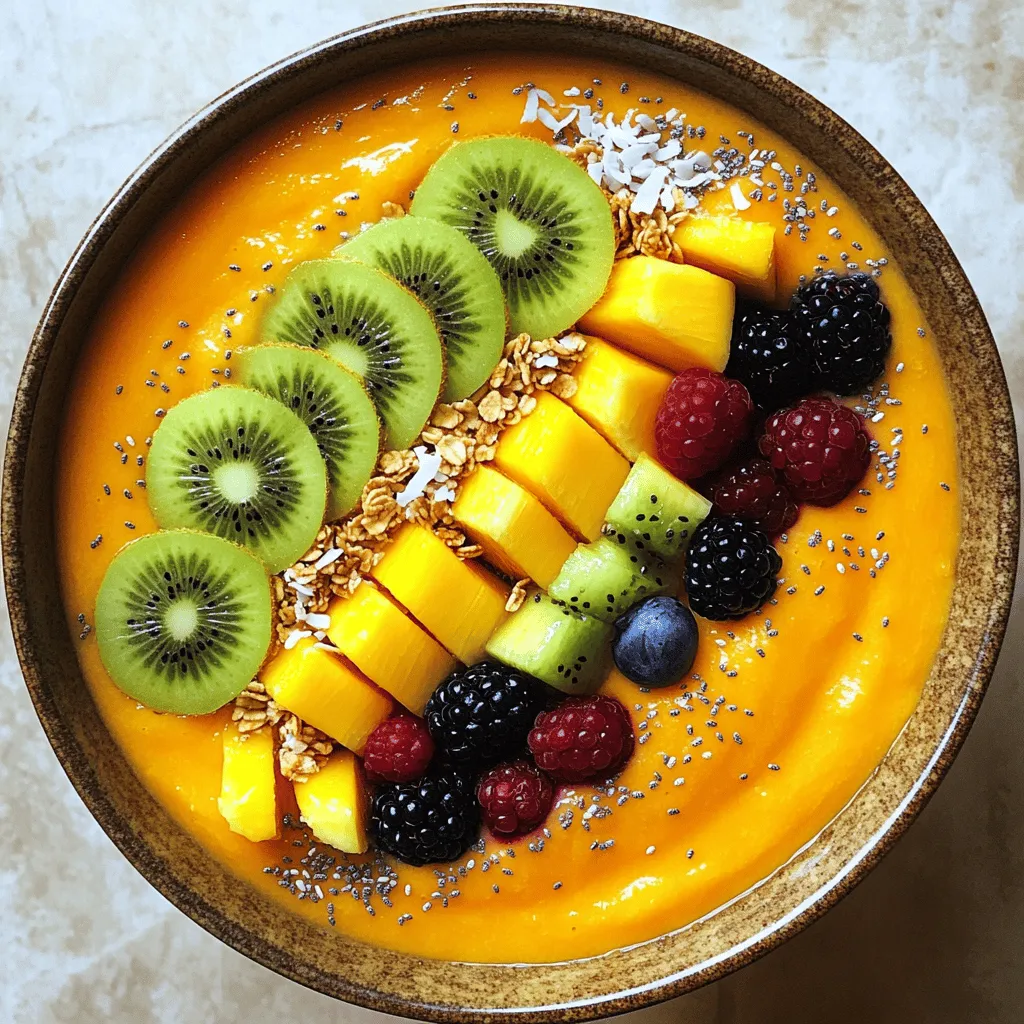
Tropical Mango Smoothie Bowl Refreshing and Simple Recipe
Dive into a delicious Tropical Mango Smoothie Bowl! This refreshing treat is easy to make, packed with flavor, and perfect for warm days. You’ll love...
Read Full Recipe →