
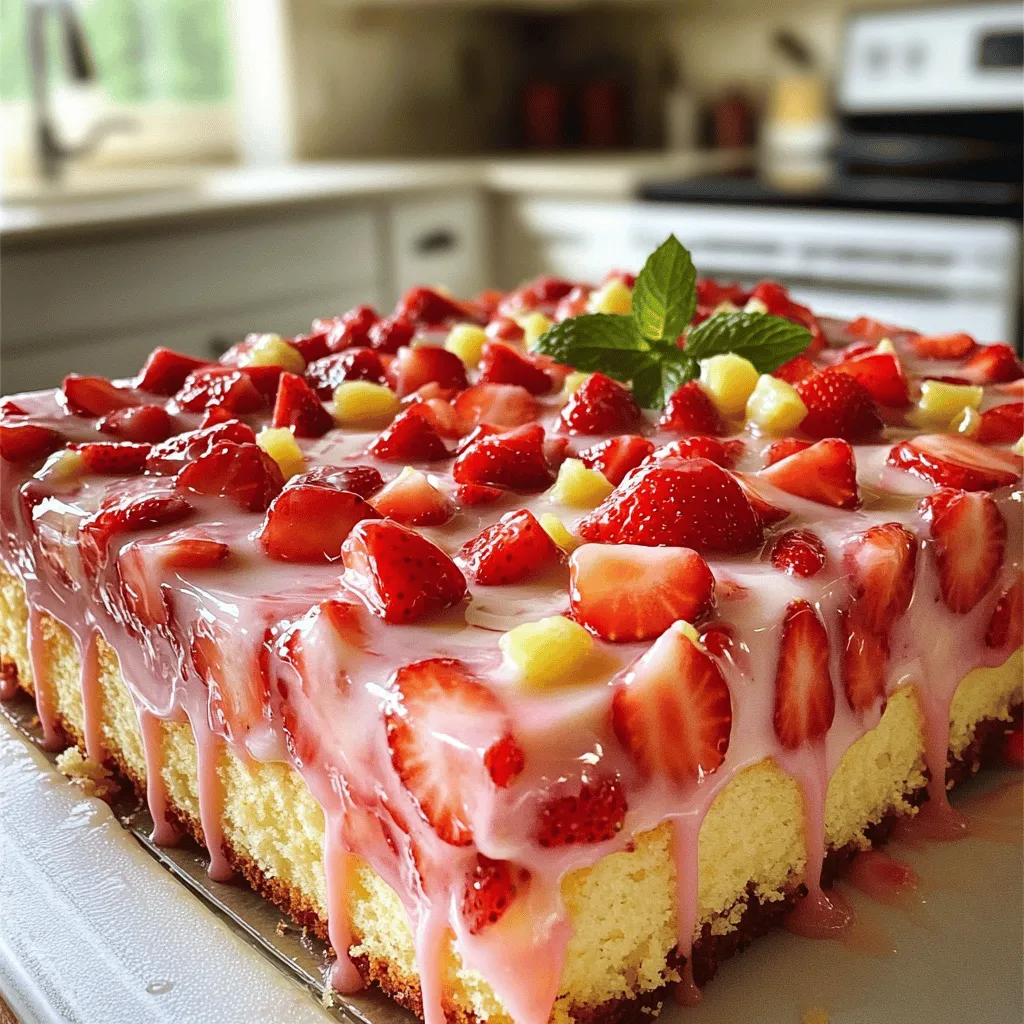
Welcome to your next favorite dessert: Strawberry Lemonade Sheet Cake! This refreshing treat combines sweet strawberries with zesty lemon for a flavor explosion. Not only is this cake easy to make, but it also looks stunning at any gathering. Follow me as I share all the tips, tricks, and variations you need to create a cake that will impress everyone. Ready to dive into this delicious adventure? Let’s get started!
Ingredients
List of Ingredients
This cake needs simple and fresh items to shine. Here’s what you’ll need:
– 2 cups all-purpose flour
– 1 ½ cups granulated sugar
– 1 tablespoon baking powder
– ½ teaspoon salt
– ½ cup unsalted butter, softened
– 1 cup buttermilk, at room temperature
– 4 large eggs
– Zest of 2 lemons
– 1/3 cup fresh lemon juice
– 1 cup fresh strawberries, diced
– 1 teaspoon vanilla extract
For the Lemonade Glaze:
– 1 ½ cups powdered sugar
– 2-3 tablespoons fresh lemon juice
– 1 tablespoon lemon zest (optional)
– Additional diced strawberries for topping
Importance of Fresh Ingredients
Using fresh strawberries and lemons makes a big difference. Fresh strawberries add sweet flavor and bright color. They keep the cake moist and tasty. Fresh lemons give a zesty kick. Their juice and zest bring a lively tartness. This balance makes every bite refreshing and delightful.
Fresh ingredients also affect the cake’s texture. They help create a light and airy crumb. When your cake has the right texture, it feels perfect in your mouth. The cake will be more enjoyable, and every bite will taste better.
Alternative Ingredients
If you’re looking for gluten-free options, try almond flour or coconut flour. They work well in this cake. Just remember to adjust the measurements, as these flours can behave differently.
For vegan substitutions, use a plant-based butter and flax eggs. To make a flax egg, mix 1 tablespoon of ground flaxseed with 2.5 tablespoons of water. Let it sit for five minutes to thicken. For buttermilk, mix almond milk with a splash of lemon juice and let it sit for a few minutes.
You can also add different flavors. Try mixing in blueberries or raspberries for a twist. Fresh herbs like basil or mint can give an exciting flair to your cake.
Step-by-Step Instructions
Preparation Guide
– Preheat your oven: Set it to 350°F (175°C). This helps the cake cook evenly.
– Prepare the pan: Grease and flour a 13×18-inch sheet cake pan. This prevents sticking.
– Mix dry ingredients: In a large bowl, whisk together 2 cups of flour, 1 ½ cups of sugar, 1 tablespoon of baking powder, and ½ teaspoon of salt. This step adds good flavor and lift to the cake.
– Cream butter and sugar: In a separate bowl, beat ½ cup of softened butter until creamy. Gradually add the sugar and mix until fluffy. This adds a nice texture.
– Combine wet ingredients: Add 1 cup of buttermilk, 4 large eggs, the zest of 2 lemons, 1/3 cup of fresh lemon juice, and 1 teaspoon of vanilla. Mix until smooth.
Combining the Batter
– Add dry to wet: Gradually mix the dry ingredients into the wet mixture. Stop mixing when just combined. This helps keep the cake light.
– Fold in strawberries: Gently fold in 1 cup of diced strawberries. Use a spatula and be careful not to smash them. This keeps the strawberries intact.
– Avoid overmixing: Overmixing can lead to a dense cake. Mix just enough to blend all ingredients.
Baking and Cooling
– Bake: Pour the batter into the prepared pan. Bake for 25-30 minutes. A toothpick should come out clean when done.
– Cool: Let the cake cool in the pan for 10 minutes. Then move it to a wire rack. Cooling completely is crucial for the best texture.
Tips & Tricks
Baking Tips
To achieve a moist and fluffy cake, use room temperature ingredients. This includes butter, eggs, and buttermilk. Mix the butter and sugar until fluffy. This adds air, making the cake light.
Check for doneness by inserting a toothpick into the center. If it comes out clean or with a few crumbs, your cake is ready. Bake at 350°F for 25-30 minutes for the best results.
Glaze Perfection
For the right glaze consistency, combine powdered sugar with lemon juice. Start with 2 tablespoons of lemon juice. If it’s too thick, add more juice slowly until you reach the desired thickness.
Glaze the cake after it cools completely. Drizzle the glaze over the top, letting it flow naturally down the sides. This creates a lovely look and adds flavor.
Presentation Tips
To decorate the cake, cut it into even squares. Place each piece on colorful plates for a fun touch. Top with fresh mint leaves and diced strawberries for added color.
Serve each slice with a glass of cold strawberry lemonade. This not only enhances the flavor but also makes for a refreshing treat. Enjoy the burst of strawberry and lemon in every bite!

Variations
Flavor Variations
You can mix things up with different fruits. Raspberries add a nice tartness. Blueberries bring a sweet burst of flavor. You can also add fresh herbs. Basil adds a unique twist. Mint gives a refreshing note. Just chop them finely and fold them into the batter.
Dietary Variations
If you need gluten-free options, use almond or coconut flour. These flours work well in cakes. For a vegan take, swap eggs for flaxseed meal. You can use a plant-based milk for buttermilk. Just mix in a bit of vinegar for the right flavor.
Cake Forms
You can change the shape of your cake too. Transform it into cupcakes for a fun treat. If you prefer layer cakes, bake in round pans. Just adjust the baking time. Cupcakes take about 18-20 minutes. Layer cakes may need 10-15 minutes longer. Always check with a toothpick to ensure they’re done.
Storage Info
Best Storage Practices
To keep your Strawberry Lemonade Sheet Cake fresh, store it in an airtight container. Cover the cake with plastic wrap or foil. This will help prevent it from drying out. Place the cake in the fridge if you want it to last longer. It stays fresh for up to five days when refrigerated.
Freezing the Cake
To freeze your cake, let it cool completely. Wrap it tightly in plastic wrap and then in aluminum foil. This double layer protects the cake. You can freeze it for up to three months. When you want to eat it, thaw it in the fridge overnight. This helps the cake stay moist and tasty.
Shelf Life
At room temperature, the cake lasts about two days if covered. In the fridge, it can last up to five days. Check for signs of spoilage, like an off smell or mold. If you see any, it’s best to throw the cake away. Always trust your nose and eyes when it comes to food safety.
FAQs
What’s the best way to store leftover cake?
To keep leftover cake fresh, wrap it tightly. Use plastic wrap or foil. Place it in an airtight container. This helps prevent it from drying out. Store the cake at room temperature for up to three days. If you need to store it longer, refrigerate it for up to a week.
Can I use frozen strawberries in this recipe?
Yes, you can use frozen strawberries. They will work well, but the texture may change. Frozen strawberries release more juice when thawed. This can make the cake slightly wetter. To avoid this, drain excess juice before adding them to the batter. Fresh strawberries give a brighter flavor and better texture.
How can I adjust the sweetness of the cake?
If you want less sweetness, reduce the sugar by a half cup. For a sweeter cake, add up to a half cup more sugar. Always taste the batter before baking. The sweetness can change after baking, so find the right balance for you.
What should I do if I don’t have buttermilk?
If you lack buttermilk, you can make a substitute. Mix one cup of milk with one tablespoon of lemon juice or vinegar. Let it sit for five minutes before adding it to your batter. You can also use plain yogurt or sour cream for a similar effect.
How do I know when the cake is done baking?
Check the cake after 25 minutes of baking. Insert a toothpick into the center. If it comes out clean or with a few crumbs, the cake is done. If it has wet batter on it, bake for a few more minutes. The edges will also pull away from the pan when the cake is ready.
This blog post covered everything you need for a delicious cake. We explored the best fresh ingredients and their impact on flavor. You learned step-by-step instructions for baking and how to create a moist texture. We shared helpful tips for glazing and presentation. Plus, you discovered fun variations, storage tips, and answers to common questions.
Now, you can bake with confidence. Use this knowledge to impress friends and family with your cake-making skills. Enjoy the process and have fun creating!
