


LATEST RECIPES


LET'S GET COOKING!
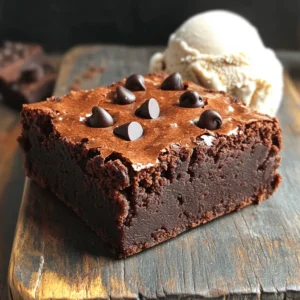
Vegan Sweet Potato Brownies Rich and Decadent Treat
Are you ready to indulge in a sweet treat that is both delicious and healthy? These Vegan Sweet Potato Brownies are rich, decadent, and packed...
Read Full Recipe →